Did you know that woodworking can reduce stress and improve mental health? Engaging in creative activities like woodworking can have a profound impact on both physical and mental well-being. For those new to woodworking, starting with simple projects can be a great way to build confidence and skills.
As a beginner, diving into woodworking projects can seem daunting, but it's a journey that can lead to creating something truly unique and personal. With the right guidance, anyone can start crafting beautiful pieces of furniture or decorative items.
Key Takeaways
- Woodworking reduces stress and improves mental health.
- Starting with simple projects builds confidence.
- Woodworking is a creative outlet for self-expression.
- It's a skill that can be learned with practice and patience.
- Beginner projects can lead to more complex and challenging work.
The Joy of Simple Woodworking Projects for Beginners
Starting with easy woodworking ideas can help beginners build confidence in their skills. Woodworking for beginners can be a fun and creative outlet when approached with the right guidance and basic knowledge.
Essential Tools Every Beginner Needs
To get started with woodworking, beginners need to have the right tools. Essential tools include a tape measure, a hammer, a set of chisels, and a saw. These tools will help beginners complete various simple woodworking projects.
Basic Safety Guidelines
Safety is paramount in woodworking. Beginners should always wear protective gear, such as safety glasses and a dust mask. It's also crucial to keep workspaces clean and organized to avoid accidents.
Understanding Wood Types and Selection
Different types of wood are suited for different projects. Beginners should understand the characteristics of various woods, such as pine, oak, and maple, to choose the right material for their projects. This knowledge will help ensure the durability and aesthetic appeal of their creations.
By mastering these basics, beginners can enjoy the process of creating something with their own hands and progress to more complex projects.
Project1: Rustic Wooden Coasters
Embark on a simple yet rewarding DIY woodworking project by creating rustic wooden coasters for your home. This project is perfect for beginners, requiring minimal tools and materials while offering a great introduction to basic woodworking techniques.
Materials and Tools Needed
To start, you'll need a few basic materials and tools. These include:
- Wood pieces (e.g., reclaimed wood or pine) for the coasters
- Sandpaper
- Wood finish (varnish or oil)
- A saw for cutting wood
- A sander for smoothing the surfaces
Step-by-Step Instructions
Follow these steps to create your rustic wooden coasters:
Cutting Your Wood Pieces
Begin by cutting your wood into coaster-sized pieces. Use a saw to make precise cuts. For a rustic look, consider using a jigsaw or a coping saw to create slightly irregular shapes.
Sanding Techniques
Sand your cut wood pieces to smooth out any rough edges or surfaces. Start with coarse sandpaper and progress to finer grits for a silky finish.
Applying Finish
Apply a wood finish to protect your coasters and enhance their appearance. You can use varnish for a glossy finish or oil for a more natural look.
Finishing Touches and Variations
Once your coasters are complete, consider adding a personal touch. You can engrave designs or initials onto the coasters, or apply different stains to create unique patterns.
| Material | Tools Required | Skill Level |
|---|---|---|
| Reclaimed Wood or Pine | Saw, Sander | Beginner |
| Tips: Use protective gear when sawing and sanding. Experiment with different wood finishes. |
Project2: Simple Floating Wall Shelf
Creating a simple floating wall shelf is a fantastic beginner-friendly woodworking projects that can add a touch of elegance to any room. This project is ideal for those looking to start their woodworking journey, as it requires minimal tools and straightforward instructions.
Materials and Tools Needed
To start, you'll need the following materials and tools:
- 1 piece of 3/4 inch thick wood (e.g., pine or oak) for the shelf
- 2 wooden brackets
- Screws and a drill
- Sandpaper
- Wood finish (optional)
| Material | Quantity | Notes |
|---|---|---|
| 3/4 inch thick wood | 1 piece | For the shelf |
| Wooden brackets | 2 | For mounting |
| Screws | As needed | For assembly |
Step-by-Step Instructions
Follow these steps to create your simple floating wall shelf:
Measuring and Cutting
Measure and cut the wood to the desired length for your shelf. Ensure it's precise to fit your space perfectly.
Assembly Process
Assemble the shelf by attaching the brackets to the wall and then placing the shelf on top. Make sure it's level and secure.
Finishing Methods
Sand the shelf to smooth out any rough edges and apply a wood finish if desired to enhance its appearance.
Mounting Tips and Decoration Ideas
When mounting your shelf, consider the height and location carefully. You can decorate it with plants, books, or decorative items to add a personal touch to your room.
By following these woodworking plans for beginners, you'll have a beautiful and functional floating wall shelf that showcases your new woodworking skills.
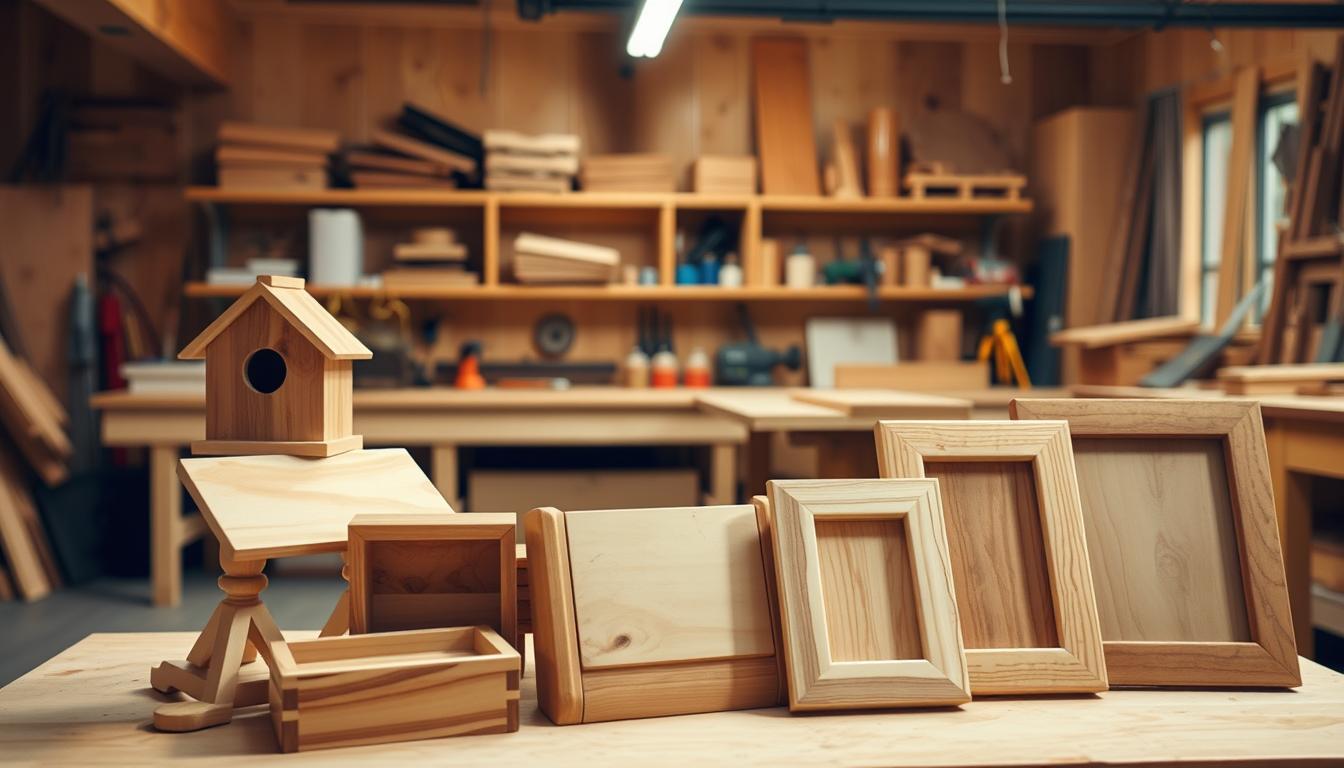
Project3: Basic Wooden Picture Frame
A basic wooden picture frame is not only a beautiful addition to any room but also a great beginner project that can help you develop fundamental woodworking skills. It's a versatile project that can be customized to fit any decor.
Materials and Tools Needed
To start, you'll need a few basic materials and tools. These include:
- Wood for the frame (e.g., pine or oak)
- Picture frame glass
- Backing material (e.g., cardboard or plywood)
- Frame hanging hardware
- Saw
- Miter box
- Sandpaper
- Wood glue
- Nails or a nail gun
Step-by-Step Instructions
Creating your picture frame involves several key steps:
Cutting Perfect 45-Degree Angles
Use a miter box to ensure accurate cuts. Precision is key to achieving a professional finish.
Assembly and Gluing
Apply wood glue to the mitered edges and clamp them together. Let the glue dry completely before proceeding.
Adding Glass and Backing
Once the frame is assembled, add the glass, your chosen picture, and the backing. Secure the backing with frame hanging hardware.
Customization Options
You can customize your picture frame in numerous ways, such as:
| Customization Idea | Description |
|---|---|
| Staining or Painting | Enhance the frame with a stain or paint that matches your decor. |
| Decorative Moulding | Add decorative moulding around the frame for a more intricate look. |
| Engraving | Engrave a message or name on the frame for a personal touch. |
As John Smith, a renowned woodworker, once said, "The beauty of woodworking lies in its ability to transform simple materials into something truly special." Creating a basic wooden picture frame is a great way to experience this transformation firsthand.
Project4: DIY Wooden Smartphone Stand
In this project, we'll guide you through making a simple yet stylish DIY wooden smartphone stand using woodworking techniques suitable for beginners. This project is perfect for practicing basic woodworking skills and creating a functional accessory for your workspace or home.
Materials and Tools Needed
To start, you'll need the following materials and tools:
- A piece of wood (e.g., oak, pine, or maple) measuring 6 inches by 4 inches by 1 inch
- Sandpaper
- Wood glue
- A saw (circular or handheld)
- A drill with a drill bit
- A measuring tape
- A pencil
- A safety guard
Ensure you have all the necessary tools and materials before proceeding to the next step.
Step-by-Step Instructions
Follow these steps to create your DIY wooden smartphone stand:
- Cut the wood to the required dimensions.
- Sand the cut edges to smooth them out.
- Assemble the stand using wood glue.
- Let the glue dry completely.
Creating the Perfect Angle
The angle of your smartphone stand is crucial for comfortable viewing. Adjust the angle to your preference, typically between 30 to 45 degrees, to ensure your phone is at a comfortable viewing height.
Cutting the Phone Slot
Carefully cut a slot to fit your smartphone, ensuring it's not too tight or too loose. The slot should be slightly wider than your phone's thickness.
Sanding and Finishing
Sand the entire stand to smooth out any rough edges or surfaces. Apply a finish (e.g., varnish or oil) to protect the wood and enhance its appearance.
Design Variations
Consider these design variations to make your DIY wooden smartphone stand unique:
- Add a cable management system to keep your workspace organized.
- Use different types of wood or stains to match your decor.
- Incorporate a personal touch, such as engraving your name or a message.
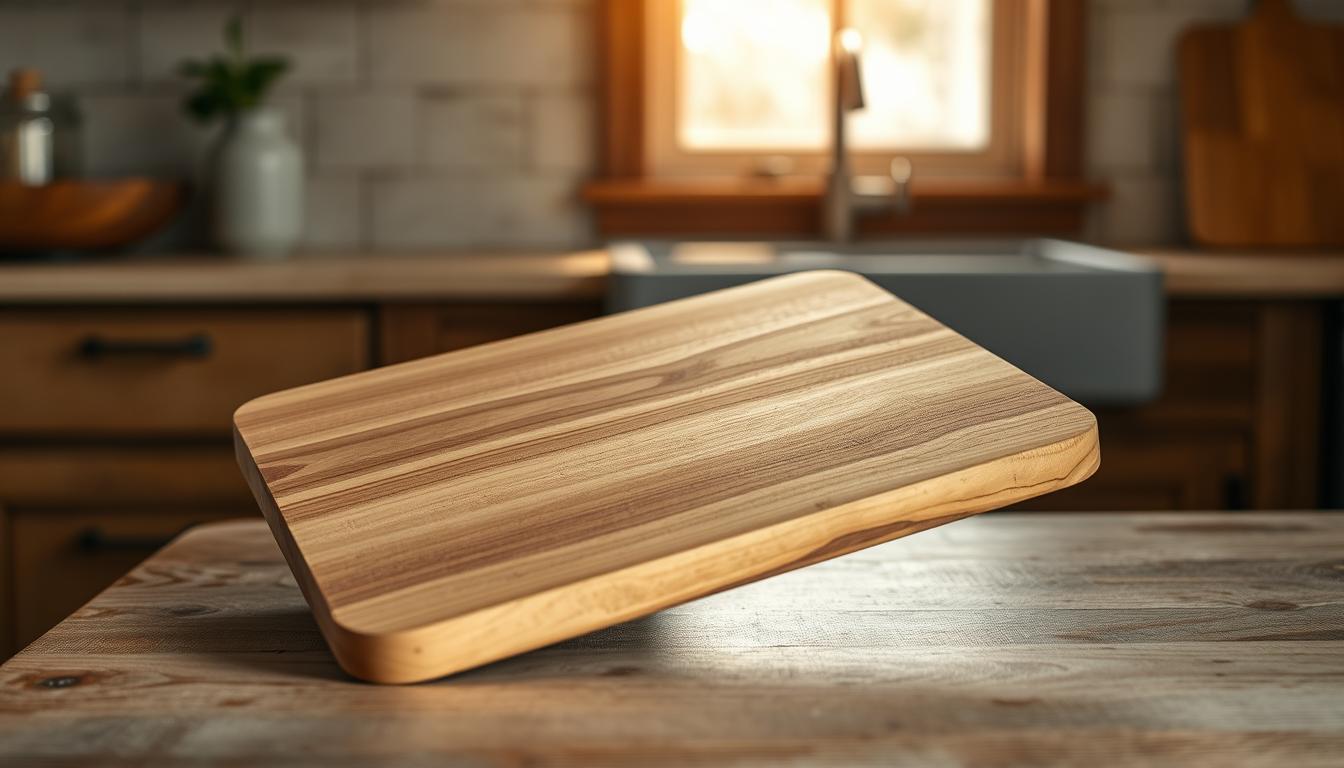
Project5: Easy Wooden Cutting Board
Woodworking for beginners can be both fun and rewarding, and making a simple wooden cutting board is a great place to start. This project allows you to create a functional item for your kitchen while learning essential woodworking skills.
Materials and Tools Needed
To begin, you'll need a few basic materials and tools. For the cutting board, you'll require:
- Hardwood (e.g., maple, walnut, or cherry) - 1 inch thick
- Wood glue
- Sandpaper
- Wood finish (food-safe)
- Clamps
- Table saw or circular saw (for cutting)
- Sander (for smoothing)
Step-by-Step Instructions
Follow these steps to create your wooden cutting board:
Selecting Food-Safe Wood
Choose hardwoods that are safe for contact with food. Maple and walnut are popular choices due to their durability and aesthetic appeal.
Cutting and Shaping
Cut your wood to the desired size using a table saw or circular saw. Then, shape the edges to smooth out any rough cuts.
Sanding for Smoothness
Sand the cutting board thoroughly to achieve a smooth surface. Start with coarse grit sandpaper and progress to finer grits for the best results.
Food-Safe Finishing and Maintenance
Apply a food-safe finish to protect your cutting board and ensure it's safe for use. Regular maintenance involves:
- Oiling the cutting board periodically
- Avoiding exposure to extreme temperatures
- Cleaning with mild soap and water
By following these steps, you'll create a beautiful and functional wooden cutting board that's perfect for any kitchen.
Project6: Beginner-Friendly Wooden Bookends
Wooden bookends are a great project for beginners, offering a chance to practice woodworking skills while creating something useful. This project is perfect for those looking to start with beginner-friendly woodworking projects that yield functional results.
Materials and Tools Needed
To start, you'll need a few basic materials and tools. These include:
- Wood for the base and support (e.g., oak or pine)
- Sandpaper
- Wood glue
- A saw for cutting wood
- A drill for adding weight (optional)
Step-by-Step Instructions
Follow these steps to create your wooden bookends:
Cutting the Base and Support
Begin by cutting the wood into the required pieces for the base and support. Ensure the cuts are precise to maintain the stability of the bookends.
Assembly Techniques
Use wood glue to assemble the pieces. Clamp them together until the glue dries to ensure a strong bond.
Adding Weight for Stability
For added stability, you can fill a drilled cavity with sand or metal washers. This will prevent the bookends from tipping over.
Creative Design Ideas
Consider adding a personal touch to your bookends with different finishes or designs. You can stain the wood, add metal brackets, or even engrave a message. These basic woodworking projects allow for a lot of creativity.
By following these steps, you can create beautiful and functional wooden bookends that will keep your books organized and add a decorative element to your shelves.
Project7: Simple Wooden Planter Box
Creating a simple wooden planter box is a fantastic DIY woodworking project for beginners looking to enhance their outdoor or indoor spaces. This project allows you to combine your love for woodworking with gardening, resulting in a beautiful and functional piece.
Materials and Tools Needed
To start, you'll need the following materials and tools:
- Wood planks (e.g., cedar or pine)
- Wood screws
- Wood glue
- Hammer or drill
- Saw
- Sandpaper
- Waterproof glue and sealant
Ensure you have all the necessary tools and materials before beginning your project.
Step-by-Step Instructions
Follow these steps to build your simple wooden planter box:
Building the Box Structure
Begin by cutting the wood planks to the desired length for your planter box. Assemble the sides and bottom using wood screws and glue, ensuring the corners are square and the structure is sturdy.
Adding Drainage Holes
Drill several drainage holes in the bottom of the planter box to prevent waterlogged soil. This step is crucial for the health of your plants.
Assembly and Reinforcement
Once the box is assembled, reinforce the structure with additional screws if needed. Sand the entire box to smooth out any rough edges or splinters.
Weatherproofing Tips
To protect your wooden planter box from the elements, apply a waterproof sealant. This will help prevent rot and extend the life of your planter. Regularly inspect and maintain the sealant to ensure your planter remains in good condition.
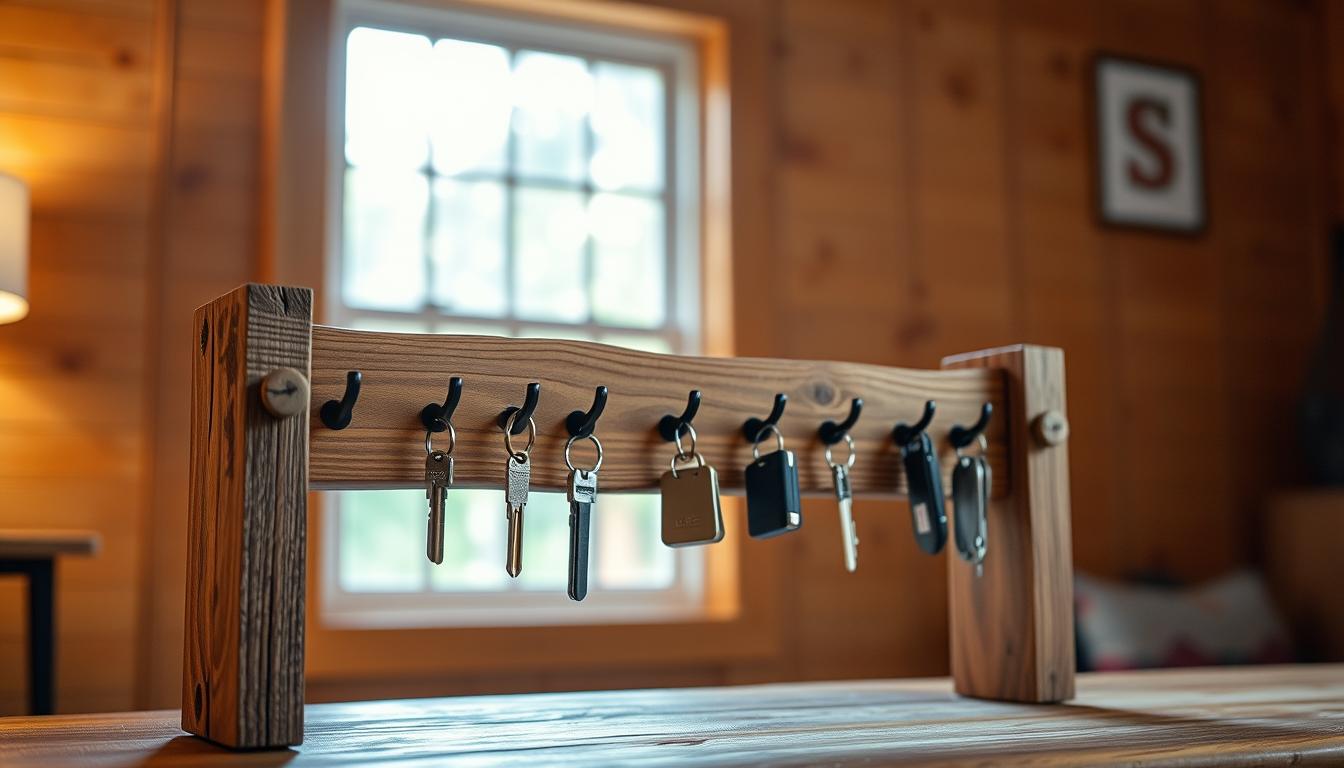
Project8: Wooden Key Holder Rack
One of the easiest and most useful woodworking projects for beginners is a wooden key holder rack. This project is perfect for practicing basic woodworking skills while creating something functional for your home.
Materials and Tools Needed
To start, you'll need a few basic materials and tools. For the backboard, you'll need a piece of wood, such as plywood or MDF, measuring about 6 inches by 12 inches. You'll also need some hooks or pegs, screws, a drill, and a saw. Ensure you have a safe workspace and follow all safety guidelines when using power tools.
- 1 piece of 1/2" plywood or MDF (6" x 12")
- Hooks or pegs
- Screws
- Drill
- Saw
- Sandpaper
Step-by-Step Instructions
Building your wooden key holder rack involves a few straightforward steps. First, you'll create the backboard, then add hooks or pegs, and finally, add any finishing touches.
Creating the Backboard
Cut your plywood or MDF to the desired size. Sand the edges to smooth them out and prevent splinters. This step is crucial for a professional finish.
Adding Hooks or Pegs
Decide on the placement of your hooks or pegs. Drill pilot holes to avoid splitting the wood, then screw in the hooks or pegs. Make sure they are evenly spaced for a neat look.
Finishing Touches
Sand the entire rack to smooth out any rough spots. You can stain or paint the rack to match your home decor. Apply a clear coat to protect the finish.
Mounting and Decorative Options
Once your key holder rack is complete, you'll need to mount it near your entrance. Use screws or adhesive strips to secure it to the wall. Consider adding a personal touch, like a coat of paint or a decorative edge, to make it truly unique.
For more easy woodworking ideas and woodworking plans for beginners, explore other projects that can enhance your home and skills.
Project9: Basic Wooden Serving Tray
Creating a basic wooden serving tray is a fantastic beginner woodworking project that combines functionality with elegance. This project is perfect for those looking to enhance their woodworking skills while creating a useful item for everyday use.
Materials and Tools Needed
To start, you'll need a few basic materials and tools. The primary materials include 1/2 inch thick wooden boards (such as oak or pine), wood glue, and finishing nails. The necessary tools are a table saw, a sander, a drill, and a jigsaw. Having the right materials and tools is crucial for a successful project.
Step-by-Step Instructions
Building a basic wooden serving tray involves several steps. First, you'll build the tray base, then add side walls, and finally attach handles.
Building the Tray Base
The tray base is the foundation of your serving tray. Cut the wooden boards to the desired size and assemble them using wood glue and finishing nails. Ensure the base is sturdy and flat.
Adding Side Walls
Once the base is ready, cut the side walls to the appropriate height and attach them to the base using wood glue and nails. Make sure the corners are secure and the walls are even.
Attaching Handles
Handles are a crucial feature of a serving tray. You can use rope, metal handles, or wooden dowels. Attach the handles to the sides of the tray using screws or nails, ensuring they are secure and comfortable to grip.
Handle Options and Finishing Techniques
The handles and finishing techniques can greatly affect the overall look and feel of your serving tray. You can stain or paint the tray to match your home decor. For the handles, consider using materials that complement the wood, such as metal or rope, to add a touch of elegance.
Project10: Simple Wooden Tabletop Easel
Woodworking for beginners just got more exciting with this simple project: a wooden tabletop easel that's both functional and easy to make. This project is an excellent way to develop your woodworking skills while creating a useful tool for artists and crafters.
Materials and Tools Needed
To start, you'll need a few basic materials and tools. These include 1/2 inch plywood or MDF for the easel's main components, wooden dowels or rods for support, wood glue, screws, a drill press, a hand saw or jigsaw, sandpaper, and a drill. Ensure all materials are properly measured and cut to size to avoid any issues during assembly.
Step-by-Step Instructions
Begin by cutting out the main components of the easel, including the base, the vertical support, and the easel top. Use a hand saw or jigsaw for this step, and sand the edges to smooth them out.
Creating the Support Structure
The support structure is crucial for the stability of the easel. Use wooden dowels or rods to create a sturdy frame that can hold the weight of the easel top and any artwork or canvas it will display.
Making Adjustable Features
To make your easel more versatile, consider adding adjustable features. This can be achieved by using hinges and brackets that allow you to change the angle of the easel top.
Assembly and Testing
Once all components are ready, assemble the easel using wood glue and screws. Test the easel's stability and adjust as necessary to ensure it can safely hold your artwork.
Size Adjustments and Uses
The beauty of this project lies in its customizability. You can adjust the size of the easel to fit your specific needs, making it suitable for a variety of uses, from holding large canvases to displaying smaller art pieces.
Conclusion
Exploring simple woodworking projects for beginners is an excellent way to develop your skills and confidence in the craft. The 10 projects outlined in this article provide a solid foundation for anyone new to woodworking, covering a range of basic woodworking projects that are both fun and functional.
From creating rustic wooden coasters to building a simple wooden tabletop easel, these projects introduce you to essential tools, techniques, and materials. By completing these projects, you'll gain hands-on experience and a deeper understanding of woodworking principles.
As you continue on your woodworking journey, remember to stay curious, experiment with new techniques, and enjoy the process of creating something with your own hands. Simple woodworking projects for beginners like those presented here will help you build a strong foundation, allowing you to tackle more complex projects and explore your creativity.
With patience, practice, and persistence, you'll be well on your way to becoming a skilled woodworker, capable of bringing your ideas to life. So, get started, and have fun exploring the world of woodworking!